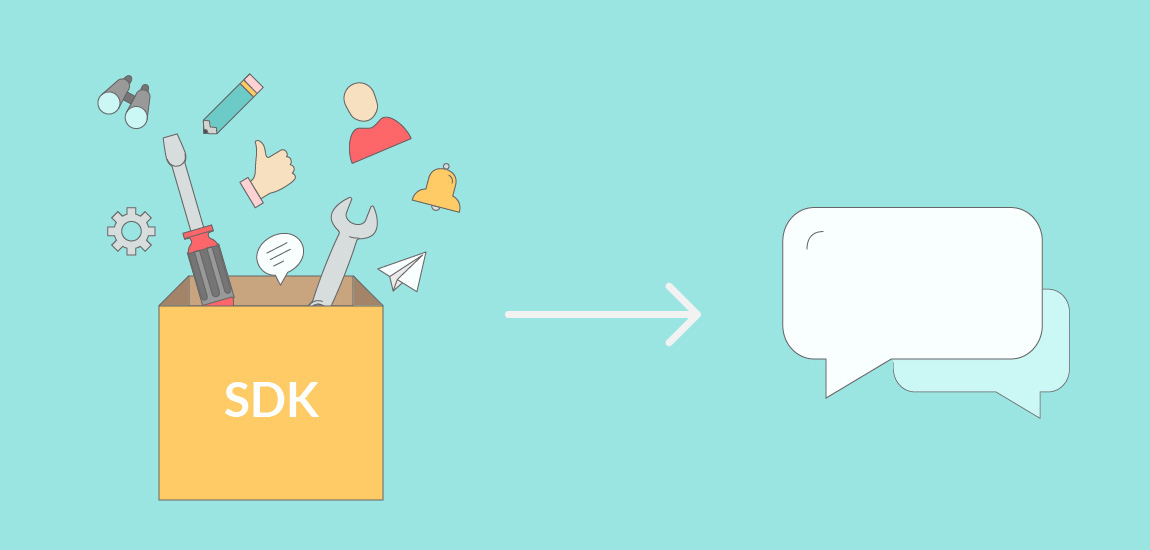
Customization is **power and control. **Therefore, at LiveChat, we have always made sure to deliver plenty of configuration tools and options.
CSS and JS API
For example, you can use custom CSS to create a unique chat widget view or just adjust it to the company branding.
For those who want to interact with the chat widget, we’ve built the LiveChat JS API. You can maximize and minimize the chat widget, get the chat state to show a custom contact form when your agents are not available or log every sending message attempt to a custom metrics system. You can also set visitor’s name and email if you already know them.
Visitor SDK
CSS and JS API provide an easy and fast way to personalize chat widget, but for some of our customers, they are not enough.
For example, they may want to deeply integrate with their application (e.g. to add LiveChat support to an existing contact module).
Or build a native chat widget using React Native.
Or integrate with a bot platform.
The possibilities are endless. Therefore, we’ve created the LiveChat Visitor SDK, a library that allows you to create a custom chat widget from scratch.
Where to start?
Let’s get right into things and build a simple custom chat widget step by step:
- First of all, read the Visitor SDK Introduction section and play with the sample chat widget implementation.
- Create the chat widget layout and prepare the HTML markup. You will need a place to append new messages and a text input to get the new message text, for example:
<div id="messages"></div>
<textarea placeholder="Write a message..." id="message-input"></textarea>- Add SDK to your app and init it with your settings:
const sdk = window.LivechatVisitorSDK.init({
  license: LICENSE,
})- Append new messages to the view:
const appendMessage = text => {
  const messageDivContainer = document.getElementById('messages')
  const messageDiv = document.createElement('div')
  messageDiv.innerHTML = ' + text + '
  messageDivContainer.append(messageDiv)
}- Connect the “new_message” callback with the appendMessage function:
sdk.on('new_message', data => appendMessage(data.text))6. Add a function to send new messages:
const sendMessage = () => {
  const input = document.getElementById('message-input')
  const text = input.value
  sdk.sendMessage({
    customId: String(Math.random()),
    text: text,
  })
  input.value = ''
}- Finally, connect the “sendMessage” function to an input:
document.getElementById('message-input').onkeydown = event => {
  // send message if enter was pressed
  if (event.which === 13) {
    sendMessage()
    return false
  }
}
And this is it! Your custom chat widget is ready and you can send and receive messages now.
Spice it up
You have your simple chat widget already, but before you proudly show it to the world, consider the following:
- Make sure to inform your visitors about your agents’ availability. Are they online? Is it possible to start a chat? Use the “status_changed” callback to get your agents’ availability status. When they are offline, you can display a message that there is no one available, or you can hide the message input. Or maybe you want to insert, for example, a widget with your knowledge base, a link to the FAQ section or to display an email address?
- Keep the visitors updated about their connection status. They can get angry waiting for a response from your agent when they don’t know that there is no internet connection. The “connectionstatuschanged” callback will help you handle this situation with style.
- Do you send files to your visitors? Use the “new_message” callback to provide a link to the shared item.
- Do you queue your visitors often? Do you have the manual chat routing turned on? Don’t forget to inform your visitor about their order number in the queue and their estimated waiting time with the “visitor_queued” callback.
- Be polite and show a “thank you” message after a chat – use “chat_ended” for that.
- Do you want to see a visitor’s message before they send it? Use the “setSneakPeek” method to give your agents more time to prepare a helpful answer.
- Do you know your clients’ emails or names? Do they log to your system before a chat? Use the “setVisitorData” method to forward this data to your agents.
- Collect feedback – build chat rating buttons and connect them to Visitor SDK using the “rateChat” method.
What’s next?
When your basic widget has turned into a shiny custom chat window, you may want to share it with the rest of the world.
To contribute to the LiveChat community and get some shout-out (obviously), head out here to learn how to become a featured LiveChat expert and show what you did to our ever-growing customer base.
Finally, as always, if you have any questions, just drop us a line or hit the chat bubble in the bottom right corner to reach us.
Happy coding!