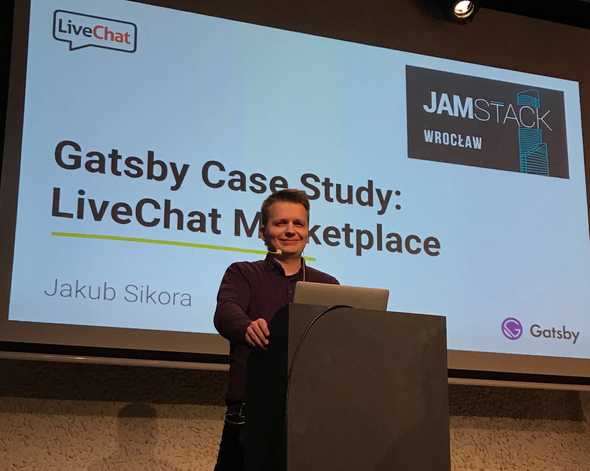
In February, I had a pleasure to talk about migrating the LiveChat Marketplace to Gatsby at #3 JAMstack Wrocław: The One on Fat Thursday. The migration took place over 1.5 years ago, and we’ve enjoyed the benefits of Gatsby ever since.
How it used to be
To begin with, you need to know that the public Marketplace and the in-app Marketplace (you need a LiveChat account to see it) used to have the same source code and look the same. While our products, the LiveChat Agent App and the LiveChat public website, were evolving, the look & feel was changing as well. At some point, we could no longer make more CSS hacks in order to keep the code clean.
Challenges we faced
For that reason, we faced the following problems:
1. How to keep one set of components for two versions of Marketplace in one codebase?
We wanted to implement one version of components and keep them in one place. These components could be used in both versions.
2. How to use different styles for each versions?
Marketplace versions vary in styling; they have different fonts and colors.
3. How to show and hide some components depending on the version?
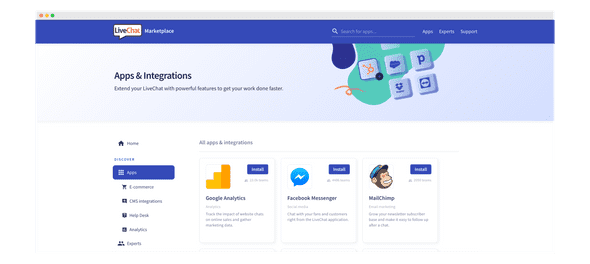
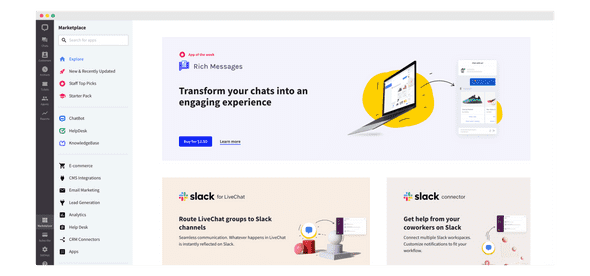
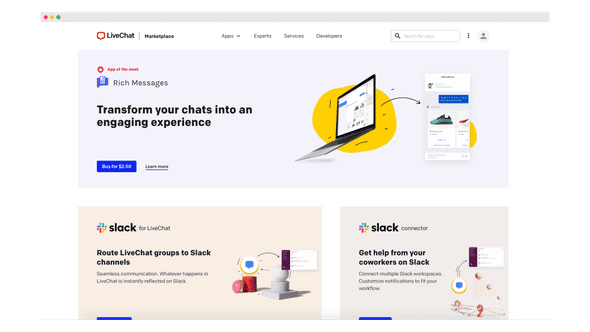
The in-app version of Marketplace doesn’t need a header or a footer. It uses the ones coming from the LiveChat Agent Application. On the other hand, the public Marketplace needs both these components, but the left sidebar is obsolete.
What Gatsby brought to the project
We started looking at the solution Gatsby had to offer. It turned out they have a concept of building themes in order to keep one codebase with different visual versions.
This solution was perfect for us. We could create a base theme that we would use for the public Marketplace, and then use component shadowing to generate the in-app Marketplace version.
Component shadowing
This is what Gatsby documentation says about component shadowing:
This feature allows users to replace a file in the src directory that is included in the webpack bundle with their own implementation.
To see what it means in practice, consider an example from our codebase.
There are two versions of the AppListVertical component that lists applications in the in-app and public Marketplace differently. Below, there’s the public Marketplace component version:
packages/marketplace-base/src/components/AppListVertical.js
...

const AppListVertical = ({
  apps,
  className,
}) => {
  return (
    <div className={className}>
      {apps.map(app => (
        ...
      ))}
    </div>
  )
}

export default AppListVertical
Notice the className props. This is a suggested practice to override styles with component shadowing.
Below, we have the same component but overriden for the in-app version:
in-app/src/marketplace-base/components/AppListVertical.js
...
// Import the base component
import AppListVertical from 'marketplace-base/src/components/AppListVertical'

// Some styles overrides
const updatedAppsWrapperCss = css`
  @media (min-width: 500px) and (max-width: 720px) {
    grid-template-columns: repeat(3, 124px);
  }
  @media (min-width: 720px) and (max-width: 830px) {
    grid-template-columns: repeat(4, 124px);
  }
  @media (min-width: 830px) and (max-width: 959px) {
    grid-template-columns: repeat(5, 124px);
  }
`

export default props => (
  <AppListVertical css={updatedAppsWrapperCss} {...props} />
)
This is just a glimpse of what you can achieve with component shadowing. You can find more examples in the Recommended resources section at the end of this blog post.
Now is better
I belive in simplicity. This approach lets us keep most components in one place and override only the ones we need in either version of Marketplace. So far, I’ve mentioned components, but you can also override CSS, constants, etc. The beauty of this solution is that, in most cases, we just need to change one thing, and the component is already applicable for two Marketplace versions, without any copy-pasting.
Marketplace today
This is how the two versions of Marketplace look today:
-
in-app version of Marketplace
-
public version of Marketplace
Joining our Developer Community
As a developer, you can join our Developer Program and become a part of the Marketplace ecosystem. Once you have an idea for an app, go to Developer Console, register, and start building. When it’s ready, submit your app for review. Our team will evaluate it, and if both sides are happy, your app will be publicly available on our Marketplace.
You’ll be able to decide on app monetization. If you feel like your app should be paid, you can choose your pricing model in Developer Console. Your app can be also for free, and that’s ok too.
In case of questions, make sure to contact as at developers@livechat.com


