Welcome to another part of LiveChat Workshop: the series dedicated to showing you how to get more out of your LiveChat! This time we’ll tackle the topic of security, by showing you how to configure your custom SAML implementation and integrate it with LiveChat, making it much more secure!
With today’s LiveChat Workshop, we promise you an exciting read that will cover the following topics and questions:
- A brief take on advantages of using SSO instead of regular login method;
- What are the requirements for enabling SSO at LiveChat?
- What endpoints and certificates will you need to enable SSO at your LiveChat license and how to find them?
- How to configure the SAML 2.0 protocol, based on Auth0 example?
- How to apply the SAML configuration to your LiveChat app?
Disclaimer: Note that the following SSO configuration is based on the SAML 2.0 protocol provided by Auth0: the configuration steps will apply to the SSO provider of your choice, but you may find the required information and configuration options in different sections of your provider’s GUI.
Advantages of using SSO instead of a regular login method
What is Single Sign-On? In short, it’s a user authentication service, allowing you and your coworkers to log into various software with the use of a single method of authentication, like two-factor authentication. This can not only eliminate a situation in which your coworkers forgot the password combination nr 104 to the software that they do not use on a daily basis, but they desperately need at the moment. Using SSO will also eliminate a bad habit of reusing the same and often simple password among different services used by your enterprise.
If online security is one of the most critical aspects of your enterprise (and we believe that it should be!), considering SSO as the login method for LiveChat is a step in the right direction.
What are the requirements for enabling SSO at LiveChat?
So, what are the requirements that will allow you to boost up your software’s security? At LiveChat we like to keep things simple, that’s why there are only two things that you need to remember about before configuring your SAML implementation:
- SSO provider which supports SAML 2.0 protocol;
- Our LiveChat Business plan that supports not only SSO but also other features that you can read about by clicking here.
If you can place a ✅ next to both of those requirements, let us not waste another minute and let’s get on with it!
Endpoints and certificates required to enable SSO at LiveChat and how to find them
To integrate your custom SSO solution with LiveChat, you will need two things:
- Signing Certificate (X.509 certificate);
- SAML Protocol URL.
Both the certificate and the SAML Protocol URL will allow us to communicate with your custom SSO provider and confirm the identity of your LiveChat agents. So, the biggest question, for now, is how to find them?
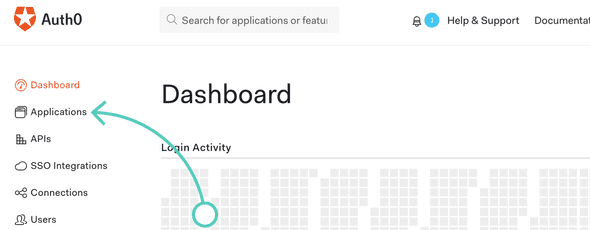
At first, log into to your Auth0 dashboard and proceed to the Applications section.
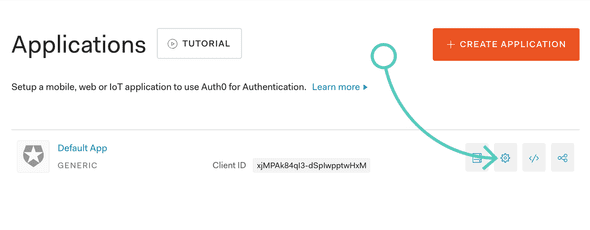
Now, go to the Settings of your default application (or, if you don’t have one, create a new app!).
In the Settings section, Auth0 allows you to set up things like the name of your SSO app, its description or even its logo. (By the way, if you’d like to use LiveChat’s logo, feel free to copy the following URL: https://www.livechat.com/wp-content/themes/livechat2.0/media/img/press/lc-logos/logo-livechat.png).
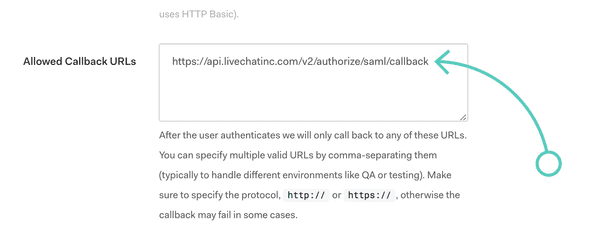
After setting up the descriptive aspects of your app, let’s scroll down a bit until you reach the option called Allowed Callback URLs. Once there, copy the following URL address:
https://api.livechatinc.com/v2/authorize/saml/callbackand paste it as the URL that your SSO app will be allowed to communicate with.
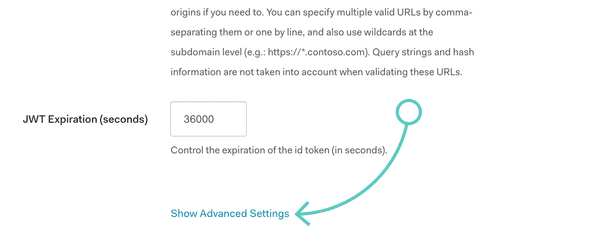
Now we have a little bit more scrolling ahead. At the bottom of your app’s settings, click on Show advanced settings.
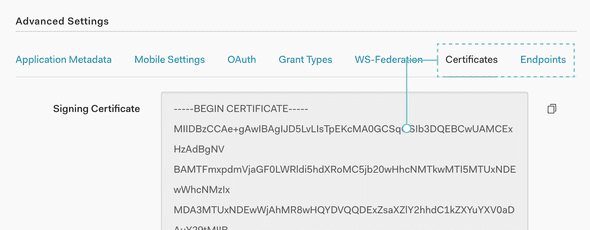
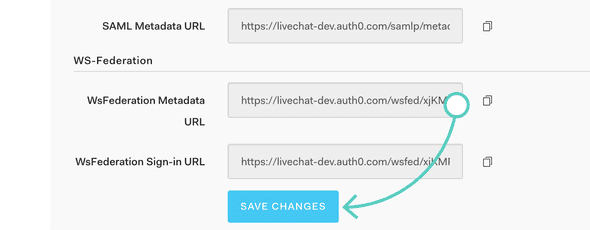
To proceed, you will need two things taken straight from this section: the Signing Certificate (X.509 certificate) and the SAML Protocol URL mentioned a while ago. You can get them from the Certificates and Endpoints sections of Advanced Settings.
After copying them, remember to store them in a safe place for later! To continue, Save Changes to your app.
OK, so now that you’ve got your Signing Certificate and SAML Protocol URL ready, it is time to configure the SAML 2.0 protocol itself. But don’t leave the configuration of your SSO App yet!
Configuring the SAML 2.0 protocol
By configuring your SAML 2.0 protocol, you will:
- map your agent’s profile between Auth0 (or SSO provider of your choice) and the output attributes on the SAML Assertion;
- specify the format of the Name Identifier;
- set up the Probes of your Name Identifier.
All of those properties will allow Auth0 to communicate with LiveChat and authenticate your Auth0 users so that they’ll be able to log into LiveChat without providing their login credentials.
Note that the agents’ authentication is done by matching the email address of your Auth0 user with the email address of your LiveChat agent. Because of this process, make sure that your Auth0 (or your custom SSO provider) users are registered under the same email address as the one used as LiveChat!
Sounds difficult? Don’t worry! We’ve prepared the example configuration that will work with SAML 2.0 provided by Auth0. With it, you will not only get the idea of how such configuration looks like, but you can also copy it and use it with Auth0 without making any additional changes. So, how to configure your SAML 2.0 protocol?
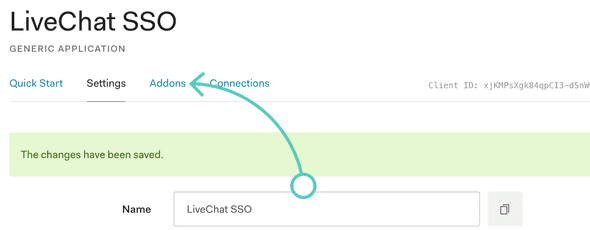
While still in your SSO App’s Settings, go to the Addons section.
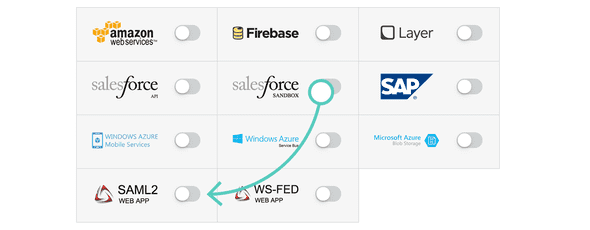
From the list of available Addons, enable SAML2 WEB APP.
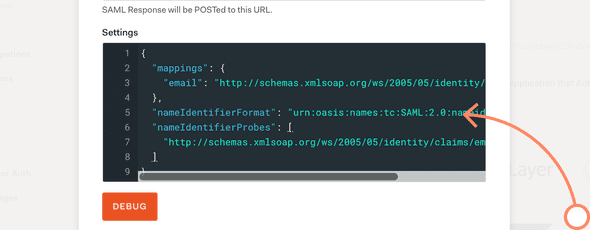
Now we’ve reached the part that may seem difficult and over-complicated. But just as mentioned before, fear not! Simply copy the pre-made SAML 2.0 configuration from below:
{
  "mappings": {
    "email": "http://schemas.xmlsoap.org/ws/2005/05/identity/claims/emailaddress"
  },
  "nameIdentifierFormat": "urn:oasis:names:tc:SAML:2.0:nameid-format:email",
  "nameIdentifierProbes": [
    "http://schemas.xmlsoap.org/ws/2005/05/identity/claims/emailaddress"
  ]
}
and paste it right into the configuration’s code area.
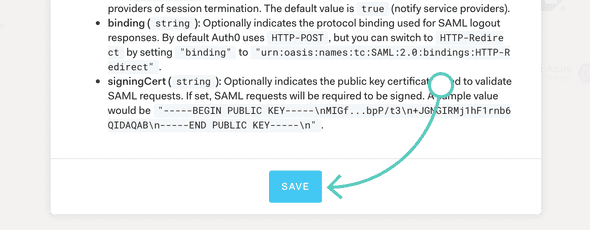
And that’s it! After providing the configuration, all that is left at the Auth0’s side is to Save changes made to your SAML2 WEB APP addon.
Now we can proceed with applying all of that configuration to your LiveChat account.
Applying the SAML configuration to LiveChat
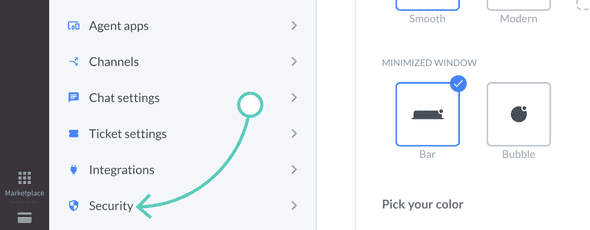
We like to make things dead easy, so now that you have everything ready, the steps that are ahead of us can be compared to a walk in the park. Let’s start with going to the Settings of your LiveChat app. While there, proceed to Security section.
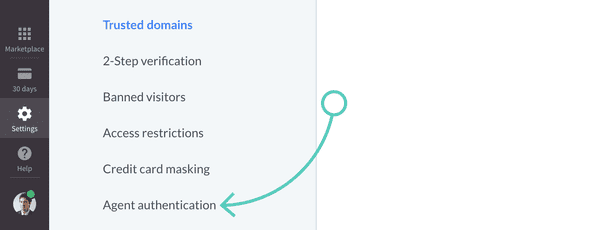
From the list of available options, choose Agent authentication.
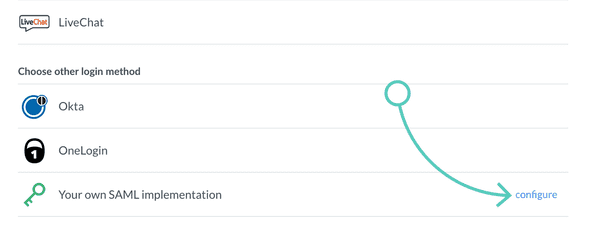
And as we are trying to integrate LiveChat with your own SSO solution, configuring the Your own SAML implementation is the way to go. 😎
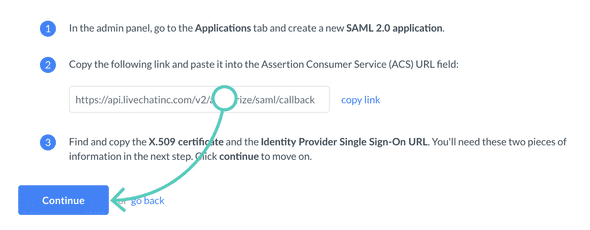
As we have configured the SAML WEB APP before, skip this step by clicking on Continue…
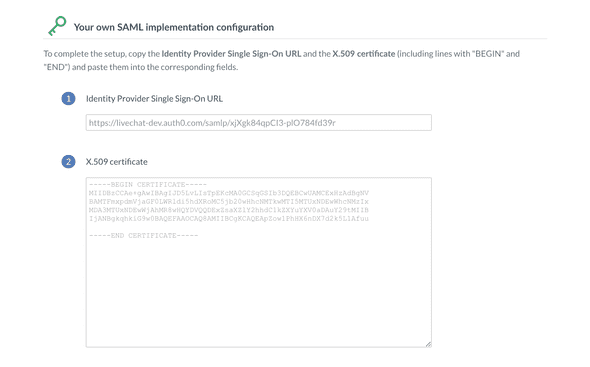
… and proceed to the next section, where you can paste the SAML Protocol URL (Identity Provider Single Sign-On URL) and Signing Certificate (X.509 certificate) that you’ve gathered before.
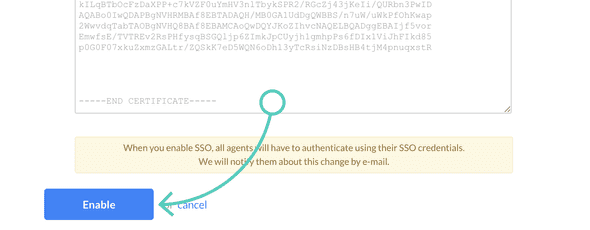
We are almost here! Now that absolutely everything is in place, there’s just one more thing for you to do: save changes by clicking on the Enable button!
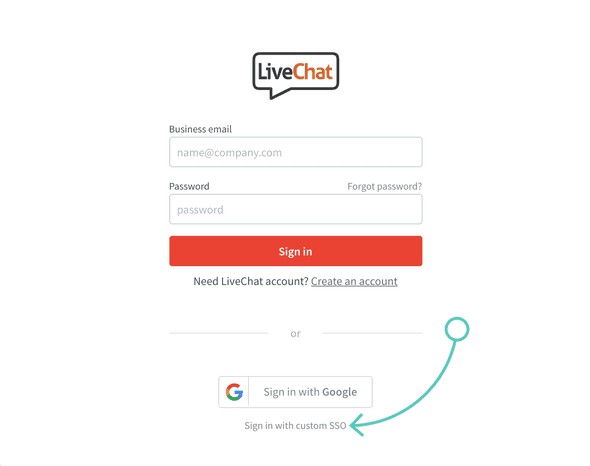
And that’s it: your SAML implementation has been configured properly, and your agents can start using the Sign in with custom SSO as their login method.
We’re hoping this article not only briefly pointed out the benefits of using Single Sign-On as the login method, but also showed you how to configure your own SAML implementation!
If you have any additional questions about the Auth0-SAML configuration on any questions about LiveChat and SSO in general, don’t hesitate to ask in the comments section available below! We will be more than happy to help you. 🙂
